Live fire cooking is not technically difficult. The barrier is mostly unfamiliarity — it feels unpredictable until you have done it a few times, and then it becomes the only way you want to cook outside. This guide walks through the setup from scratch.
What you need before you light
- A grill — charcoal kettle, offset smoker, fire pit with a grate, or a swing grill. The fuel source matters less than having control over airflow.
- Fuel — lumpwood charcoal for high heat and clean flavour; briquettes for longer, more even burns. Wood chunks for smoke flavour on top of either.
- A chimney starter — the most reliable way to light coals without lighter fluid or fire lighters that affect flavour.
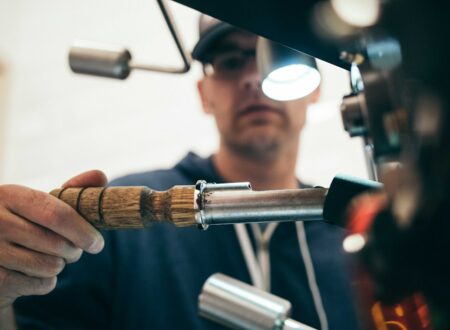
- Tools — at minimum: a long-handled fork, tongs, and something to clean the grate. The King Fork and BBQ Blade cover both needs.
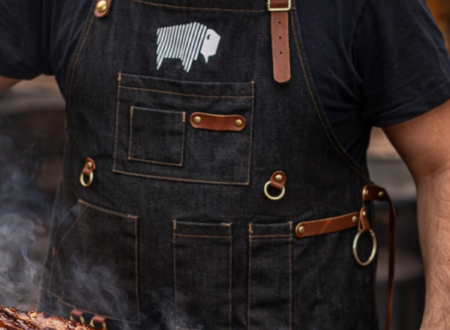
- An apron — fat drips and coal spits are inevitable. The Gaucho protects and carries what you need to carry.
Lighting the fire
Fill a chimney starter three-quarters full of lumpwood. Place two or three scrunched-up newspaper sheets underneath the chimney and light them. The chimney draws air upward through the coals, lighting them evenly in 12–15 minutes without any accelerant. You will know they are ready when the coals at the top have a white-grey ash coating and glow orange when you blow on them.
Tip the lit coals into one side of the grill bed. Do not cover the entire grill surface — you need a hot zone and a cooler zone.
Watch the smoke, not the clock. As the fire settles, look at what is coming out of the vents or the lid gap. White, billowing smoke means the wood is still drying out and producing dirty combustion — it will impart a bitter flavour. Wait for thin blue smoke: a barely-there wisp that drifts rather than pours. That is clean combustion, and that is when your food goes on.
The two-zone setup
The most important live fire principle is the two-zone setup:
- Direct zone — coals directly underneath. Use for searing, burgers, chops, skewers, anything that needs high heat and a crust.
- Indirect zone — no coals underneath. Use for larger cuts that need time without burning: whole chicken, brisket, ribs, corn.
Most live fire cooking is a combination of both. Sear on the direct zone, finish on the indirect. Or cook entirely indirect for a low-and-slow session and sear at the end.
Temperature management
Airflow controls temperature on a charcoal grill. Open vents = more oxygen = hotter fire. Closed vents = less oxygen = lower temperature. The lid also acts as a convection oven — on for indirect cooking and smoking, off for direct searing.
What to cook on your first live fire session
Keep it simple. Spatchcock chicken is forgiving and rewarding — the butterflied shape cooks more evenly than a whole bird, and it benefits from both direct searing (skin down first) and indirect finishing. Alternatively: thick-cut pork chops, merguez sausages, or a whole side of salmon on the indirect zone with the lid down.
Save brisket, ribs, and overnight smokes for session three or four. Get the two-zone method right first.
Ready to upgrade your kit?